Gridline Tool |

Gridline Tool |
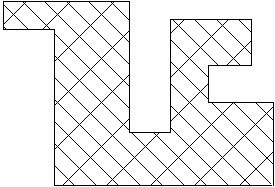
The Grid Line tool allows you to place a grid of lines within an object, such as a polygon, ellipse, rectangle, Bézier or B-spline. The tool can be used for reflected ceiling grids or 'manual' hatching.

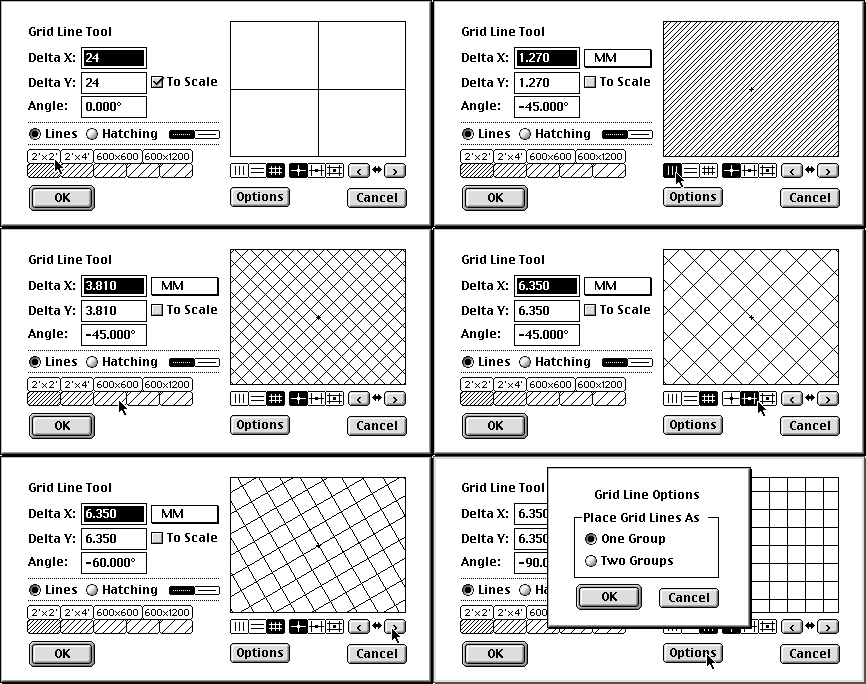
You have a number of options in the tool's dialog:

Type the Delta X, Delta Y and angle. Choose whether the tool will place horizontal lines, vertical lines or a cross grid. Choose whether the grid lines will be placed by the crossing point, half-way point on one side, or center of a grid rectangle. Click on the left or right buttons to adjust the grid by 15° increments, or click on the arrow button to flip the angle about a vertical line.

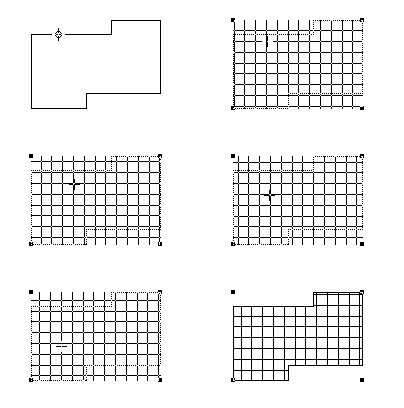
To use the tool, place the cursor in the drawing area on the rectangle, ellipse, circle, polygon, B-spline, Bézier, or spline. Press the mouse button.
Drag the mouse to locate the grid. You may press the Shift key to reverse the angle of the grid. You may press the Option key to toggle the presentation if you are placing a cross grid of lines, to toggle through three placement choices. These are tile center, tile corner or the center of one side of the tile.
Release the mouse to place the grid. The grid will be placed within the object. Normally the object will be a closed shape, but if it is not, it is treated as one anyway.
The Grid Line tool can place grid lines within an enclosed space defined by one or more objects. In this action, it operates like the Flood tool in finding the perimeter of the enclosed area. For a complete description of this action, see the Flood tool.

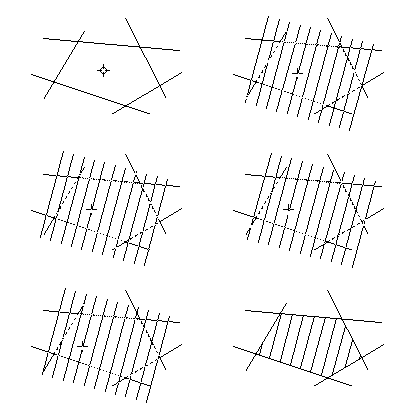
To use the Grid Line tool to flood a grid, place the cursor in the drawing area in 'white space' within an area enclosed by other objects. Press the mouse button, hold it down and do not move the mouse at all for about a second. (If you click quickly, or move the mouse, the tool will fall out.)
The flooding action will begin, and the cursor will change to the watch cursor as the tool attempts to find the boundaries of the enclosed space. If the flooding becomes 'lost', press Command-period to stop it. The flooding operation will not trace an out-of-view line.
When the flooding action is completed, the grid will be ghosted. Drag the mouse, as described above, to locate the grid. The Shift and Option keys may be used as described above, and you may tab into the Edit Window. When you release the mouse, the grid will be placed in the drawing.
You may want to set the angle of the grid to match the angle of a line or flat side of a polygon or rectangle in the drawing.

Press and hold down the Option key. The cursor will change to the Picklefork cursor. Click on a line or a flat side of a polygon or rectangle in the drawing. The angle of the line will be adopted by the tool.